수업로그

수업
버블정렬
1.
버블 정렬의 특징
•
두 수의 자리를 바꾸는 로직 사용 (temp 변수활용)
•
중첩 for문을 사용.
•
선형적인 비교 = 비교를 한 방향으로만 함.(왔다갔다 X)
•
주어진 배열 : int[] arr = {7, 3, 11, 9, 28, 2};
2.
착안
7 | 2 | 3 | 9 | 28 | 11 |
2 | 7 | 3 | 9 | 28 | 11 |
2 | 3 | 7 | 9 | 28 | 11 |
→ 이렇게 인접한 두 수를 비교하고, 뒷 값이 앞 값 보다 크면, 서로 자리 교체
→ 배열의 길이 만큼 위의 과정을 반복하면 됨. 즉, 반복의 중첩 = 중첩 for문
3.
코딩
public class BubbleSort01 {
public int[] BubbleSort(int[] arr) {
// 배열의 길이 만큼 반복 시킴
for (int i = 0 ; i < arr.length ; i ++) {
// 한 번의 반복 마다, 인접 값을 비교하고 교체
for (int j = 0 ; j < arr.length-1 ; j++) {
if( arr[j] > arr[j+1] ) {
// temp를 사용해 두 값의 자리를 교체.
int temp = arr[j+1];
arr[j+1] = arr[j];
arr[j] = temp;
}
}
}
return arr;
}
public static void main(String[] args) {
int[] arr = {7, 3, 11, 9, 28, 2};
BubbleSort01 bs = new BubbleSort01();
int[] result = bs.BubbleSort(arr);
System.out.println(Arrays.toString(result));
}
}
Java
복사
데이터를 가공해 DB에 넣기
들어가기 전에…
1.
해당 프로젝트를 Gradle(maven)으로 빌드 한 이유.
•
test case를 작성하고 실행해보기 좋음.
→ 클래스 명에 커서를 두고, ‘Alt + Enter’하면, create test 기능이 있음
•
test의 종류
→ 유닛 테스트 : 부분적 테스트 ( 하나 혹은 소수의 메소드만 테스트)
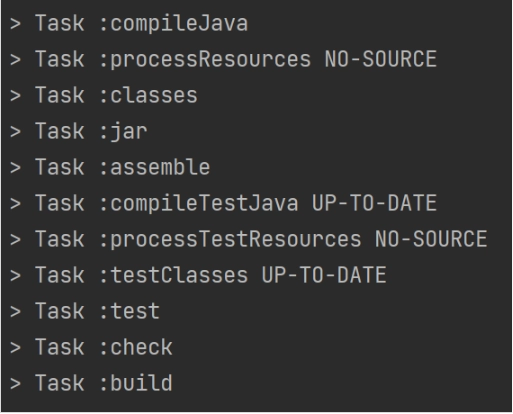
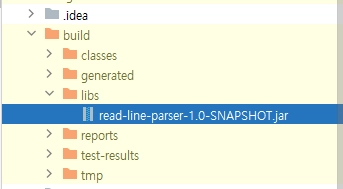
→ 통합 테스트 : 전체 테스트 ( 우측 gradle 탭에서 test 선택)
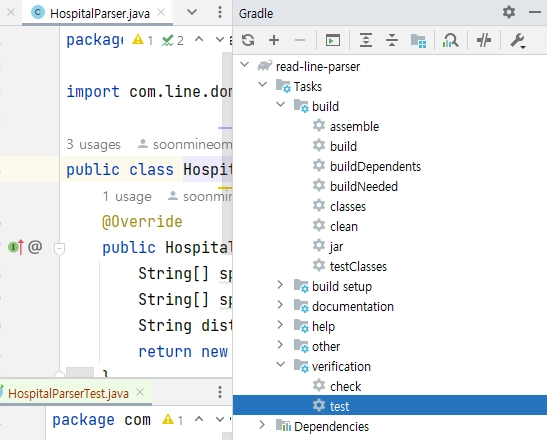
→ 실행 결과 : 밑의 Task들이 실행됨 + jar파일 생성
2.
코딩 과정
a. 데이터를 읽어서 List로 만들 메소드 작성
// 제네릭 사용으로, 다형성을 열어 둠.
public List<T> readLine(String filename) {
File file = new File(filename);
List<T> lists = new ArrayList<T>();
try {
BufferedReader br = new BufferedReader(new FileReader(file));
String line = "";
// 파일에서 한 줄 읽기
while ((line = br.readLine()) != null) {
line = br.readLine();
// 읽은 내용을 가공하여 List에 add하기
lists.add(parser.parse(line));
}
} catch (IOException e) {
e.printStackTrace();
}
return lists;
}
Java
복사
b. List의 제네릭에 사용할 Hospital 클래스 작성
public class Hospital{
// DB에 사용될 colume을 필드로 선언.
private String id;
private String address;
private String district;
private String code;
private String emergency;
private String name;
// 생성자를 통한 정보 입력
public Hospital(String id, String address, String district, String code, String emergency, String name) {
this.id = id;
this.address = address;
this.district = district;
this.code = code;
this.emergency = emergency;
this.name = name;
}
// Getter 메소드 작성.
public String getId() {
return id;
}
public String getAddress() {
return address;
}
public String getDistrict() {
return district;
}
public String getCode() {
return code;
}
public String getEmergency() {
return emergency;
}
public String getName() {
return name;
}
}
Java
복사
c. a에서 작성한 메소드에 들어갈 parse 메소드 만들기
// c-1. 인터페이스 선언
public interface Parser<T> {
T parse(String str);
}
Java
복사
// c-2. 구현체 작성
public class HospitalParser implements Parser<Hospital> {
@Override
// 한 줄의 데이터를 매개변수로 받는다.
public Hospital parse(String str) {
// 데이터를 콤마로 스플릿 해 저장한다.
String[] splitted = str.split("\\,");
// address 데이터는 한 번 더 스플릿 해 district 데이터로 가공
String[] splitted2 = splitted[1].split(" ");
String district = splitted2[0]+" "+splitted2[1];
// b. 에서 작성한 Hospital 생성자에 정보를 대입 해 리턴
return new Hospital(splitted[0],splitted[1],district,splitted[2],splitted[6],splitted[10]);
}
}
Java
복사
d. a.의 메소드로 생성된 List를 파일에 write 메소드 작성
// List를 받아와, filename이란 file에 작성한다.
public void write(List<Hospital> lists, String filename ) {
File file = new File(filename);
try {
BufferedWriter writer = new BufferedWriter(new FileWriter(file));
// 리스트에서 Hospital 객체를 하나 가져와서,
// 그 안의 정보를 sql문 형식으로 재가공해서 write 하기.
for (Hospital hospital : lists) {
writer.write("("+"'"+hospital.getId()+"'"+","
+"'"+hospital.getAddress()+"'"+","
+"'"+hospital.getDistrict()+"'"+","
+"'"+hospital.getCode()+"'"+","
+hospital.getEmergency()+","
+"'"+hospital.getName()+"'"+"),\n");
}
} catch (IOException e) {
throw new RuntimeException(e);
}
}
Java
복사
e. 메소드 실행
public class Main {
public static void main(String[] args) {
// 데이터를 읽어올 주소
String address = "C:\\Users\\안락한곳\\Downloads\\서울시 병의원 위치 정보3.csv";
// 메소드 활용을 위한 객체 생성
HospitalParser HP = new HospitalParser();
// 데이터를 읽어와 Hospital List 생성
FileReadAndWrite fraw = new FileReadAndWrite(HP);
List<Hospital> hospitalList = new ArrayList<>();
hospitalList = fraw.readLine(address);
// 만든 List를 파일에 작성.
fraw.write(hospitalList, "data.sql");
}
}
Java
복사
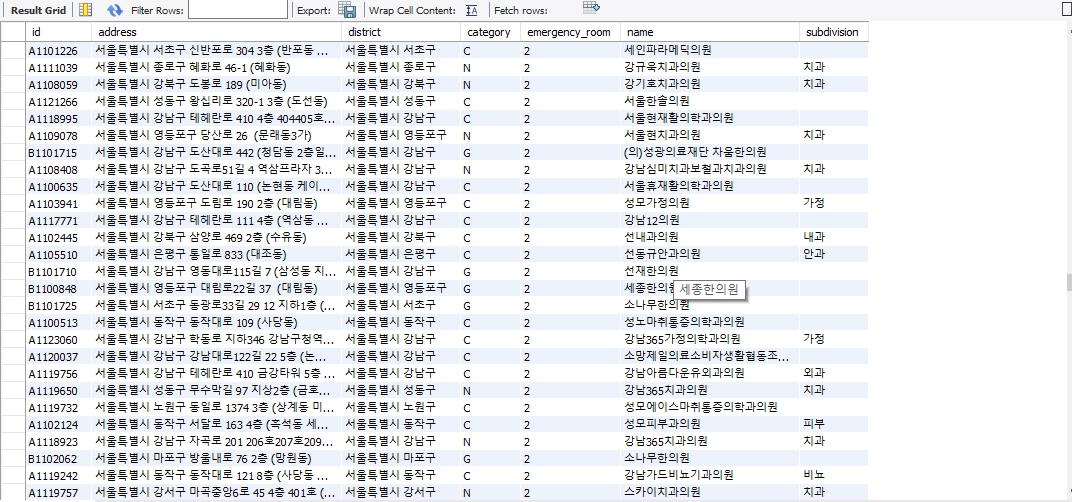
f. 작성된 sql 파일을 워크 밴치에서 실행
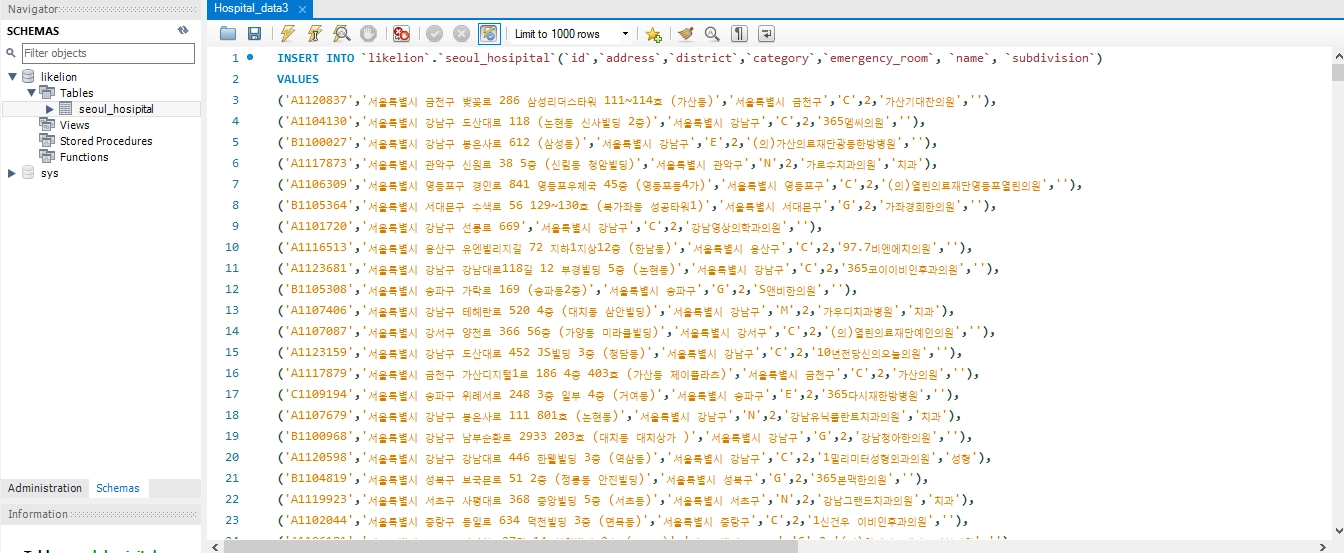
g. 실행 결과